In the ever-expanding world of Miraland, the Boneyard region of Itzaland has become a treasure trove for intrepid stylists and puzzle enthusiasts alike. Among its many secrets, eleven Funny Blocks puzzles lie hidden, each offering a satisfying challenge and a handful of valuable rewards. These Folklore Box Games, exclusive to the Boneyard, invite players to arrange colored blocks to fill every empty space on a board. With ten Diamonds and some Blings per puzzle, plus a completion bonus, the full set is well worth the effort—especially for those saving up for the next banner pull.
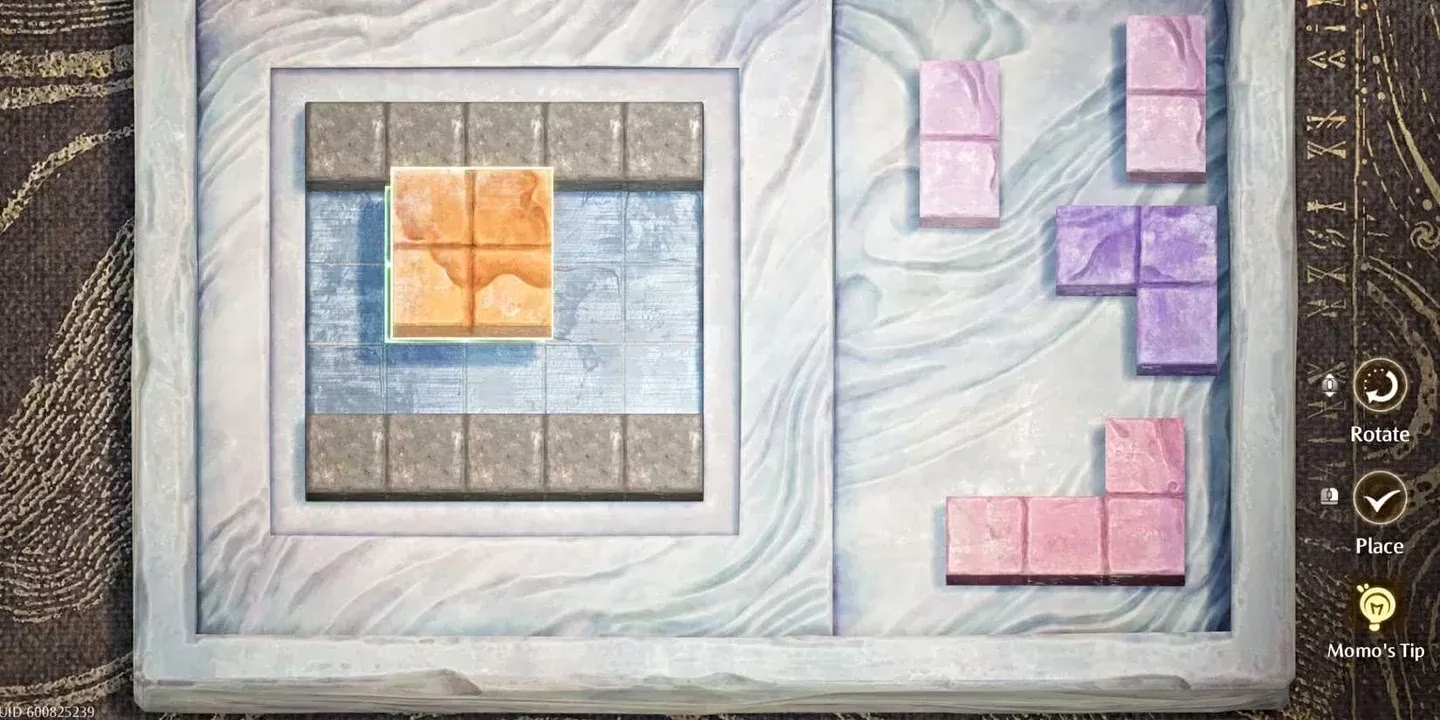
The mechanic is simple yet devious. On the right side of the screen, a set of colored blocks appears. The player must rotate and place each piece using the on-screen controls until the board is completely filled. The tricky part is determining the correct orientation and placement order. Fortunately, a built-in solution tool exists: Momo's Tip, located in the bottom-right corner just below the Rotate and Place buttons. Tapping it reveals the full solution for the current puzzle, allowing players to use it as a hint or follow it step by step without penalty.
Tracking progress is straightforward with the Folklore Guide app on the Pear-Pal. It shows which box games have been completed and which remain. Once all eleven are cleared, a special bonus awaits from Gulittot at the Snail Ranch. This completion reward adds even more Diamonds to the player's stash, making the entire endeavor a lucrative one.
The table below provides a quick reference for every Funny Blocks location in the Boneyard.
| # | Location | Area |
|---|---|---|
| 1 | Third floor, down the hall from Enigme | Great Lumieville |
| 2 | South side, near Cultivarium Coast warp spire | Cultivarium |
| 3 | Hall of Return, past double doors, up small staircase | Great Lumieville |
| 4 | West side, near Drift Boat pickup, in alcove with table | Blue Pools |
| 5 | Southwest, main building, at large blue mural | Soul Tide |
| 6 | East, narrow path south to small tent on ledge | Healing Ground |
| 7 | Second floor, corner of bookshelves beside staircase | Great Lumieville |
| 8 | Beach under tent, next to Tidefoam Beach: Lookout Bay warp spire | Cultivarium |
| 9 | East side, near Drift Boat pickup, on crate under alcove | Blue Pools |
| 10 | South side, under tent near Lakeshore Camp warp spire | Glimmering Lake |
| 11 | Down path from Blue Pools North Healing Ground Ferry warp spire, on chest against wall | Blue Pools |
Now, for the detailed directions. The journey begins in Great Lumieville, where three puzzles await. The first is on the third floor, just down the hall from Enigme, the NPC who performs Soulseeing readings. The second is also in Great Lumieville, but on the north side in the separate Hall of Return area. Teleporting directly via the Hall of Return warp spire, the player passes through tall double doors and follows the perimeter until reaching a small staircase leading up to a platform. The third Great Lumieville puzzle is on the second floor, tucked into a corner of bookshelves beside a staircase.
Moving to the Cultivarium, two puzzles are hidden. One sits on the south side of the region. If the Cultivarium Coast warp spire is unlocked, teleporting there and running up the steps from the beach to the ledge overlooking the camp will reveal it. The other is along the beach under one of the tents, right next to the Tidefoam Beach: Lookout Bay warp spire—making it one of the easiest to find.
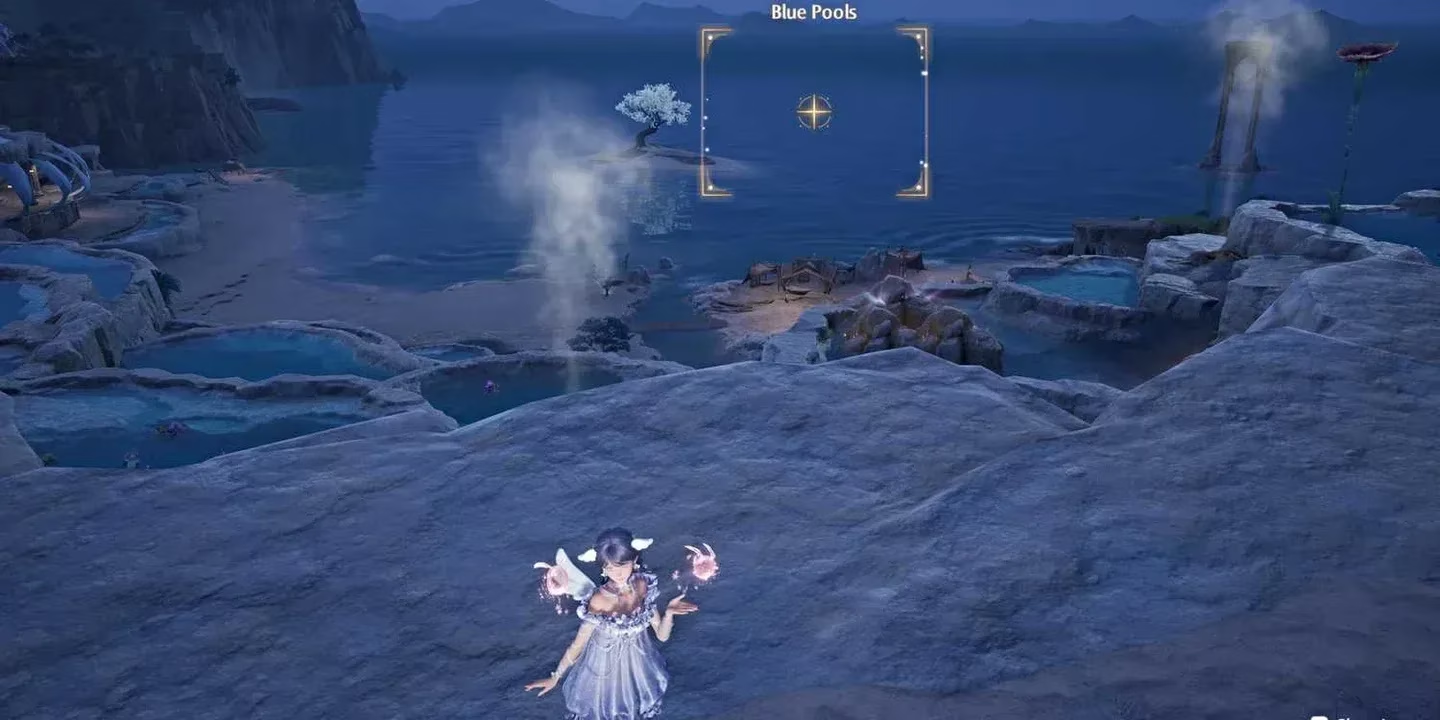
The Blue Pools area is the busiest, with four puzzles scattered around its perimeter. The first is on the west side near a Drift Boat pickup spot, inside an alcove with a table at the end. The second is on the east side near the Drift Boat pickup point on that side, sitting on top of a crate under an alcove next to a sheet music collectible. The third is just down the path from the Blue Pools North Healing Ground Ferry warp spire, on top of a chest against the wall of a building. The fourth is actually in the Soul Tide area to the southwest of Blue Pools, but it is often grouped with the Blue Pools cluster. To find it, the player enters the main building and climbs the steps until the path turns right at a large blue mural, where the box game sits on a small wooden table.
A danger note for efficient explorers: Puzzles 4, 5, 9, and 11 are all clustered around the Blue Pools area. If doing a sweep of the region, it is wise to knock out all four in one run before moving on.
The remaining puzzles are more isolated. East of Great Lumieville in the Healing Ground area, the player takes the narrow path heading south (the right-hand path) until reaching a small tent perched on a ledge. On the south side of the Glimmering Lake, under a tent near the Lakeshore Camp warp spire, another puzzle waits.
To make the hunt smoother, several tips are worth remembering. Use warp spires as anchors—many puzzles are placed directly next to named warp spires, so unlocking those spires first allows teleporting within seconds of each puzzle. Group by area: Great Lumieville has three puzzles across its floors, the Cultivarium has two, and Blue Pools has four. Clearing them in one visit saves time. Don't skip Momo's Tip; there is no penalty for using the hint, and the reward remains the same. Finally, check the Folklore Guide app regularly to see which puzzles are still outstanding.
Each individual puzzle pays out 10 Diamonds plus some Blings. After clearing all eleven, visiting Gulittot at the Snail Ranch yields the completion bonus. Given that Diamonds are the premium pull currency in Infinity Nikki, clearing the full set is a worthy time investment, especially for those saving toward a banner pull.
For more on the version 2.5 update that introduced the Boneyard and all its content, the "Where All Souls Return" update rundown covers everything that came with the new region. For a broader look at what's available across the game right now, the full Infinity Nikki guides collection is the best place to keep up with new content as each version drops.
Comments